|
|
|

 Technical Details

|
INSTRUCTIONS FOR EASY INSTALLING
The installation must be performed by qualified professional
|
|
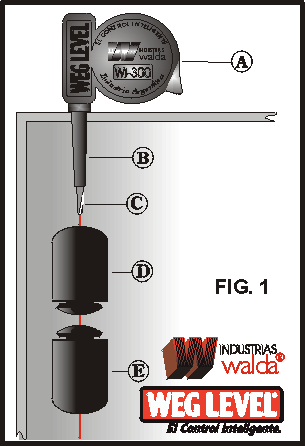
1make a little hole in the tank cover just to let the wl300 tube (B - Fig 1) go through. Preferently make the perforation in the opossite side of water pouring.(see diagrams below)
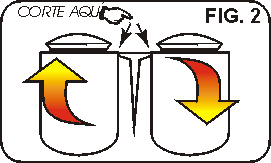
3 Separate the floating part (D - fig. 1) from the container part (E - fig. 1) with a soft twist. (Fig. 2)
SETTING FOR HIGH PLACED TANKS (ROOF TANK) 4 To set the minimun level of water (the moment the motor turns on) slide the container part (E - fig.1) trough the nil cord, taking care, placing it to a midle of tank height. This setting allows having a water reserve in case o energy supply fail, the motor works for short periods and avoids the remotion of sediments in the tank floor.
SETTING FOR CISTERNA TANK 5 Proceed the same way as in point 4 but wiring the red and black cables (fig. 3), so it will function inversely, the floating part (D - fig. 1) makes the motor turn on and the container part (E - fig.1) makes it stop. NOTE: In both cases (Points 4 and 5) you must check the container part it's filled with water(E - fig.1)
CONECTION IN COMBINED TANKS (CISTERN AND HIGH PLACED TANK) 6 This setting is important for those who have a system of cistern for public water supply and high placed tank in combination. You need to conect two devices in serie (fig.3). This setting avoids the motor to turn on when the low placed tank (cistern) is empty because of fail of common water service supply.
COMMON WATER SUPPLY LEVEL INDICATOR 7 In the case you have public water suply service available, the device can de installed as a level indicator, to be abl to know the water remaning in tank Place the floating element (D - fig. 1) and the container element (E - fig. 1) together, one above of the other one, to middle height of the tank, wiring the red and white cables (fig. 3) to a low consume lamp (neon). This lamp will turn on when water level felt down below the container part and will remain turn off as long as the tank is full |
Cut of a tank with WL-300 installed
CONNECTIONS IN COMBINED TANKS (POINT 5) 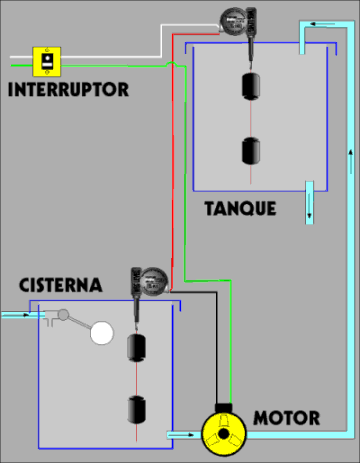
|
|
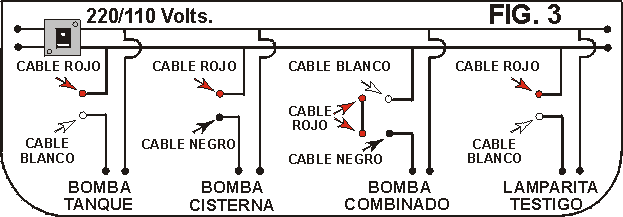 TECHNNICAL DETAILS: 10 Amp. C.A. - 220/110 Volts. (Up to 1 HP. monophasic). For higher power motors place a proper contactor |
||
|
||
| SHIPPING BOX | |
|
Both products come in a handy box. Instructions for easy instalation and setting are printed onto the box outside, the same instrutions you can find here in our web site |
|
 |
 |
| Home page | Special Feature | Why Wegelevel | Contact us | Tech Support | Walda Industry | |
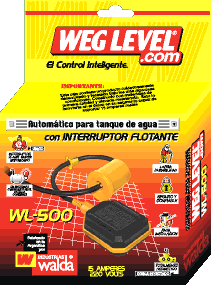
| WL-500 | |
| Home page | See it working | Special Feature | Technical Details | |
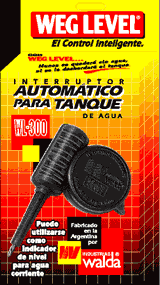
| WL-300 | |
| Home page | See it working | Special Feature | Technical Details |